There's nothing quite like the smell of fresh bread baking at home, and this homemade potato bread recipe will fill your kitchen with the most comforting aroma. Many people think making bread is complicated, but I'm here to show you just how easy it can be. This simple recipe uses one boiled potato, which is the secret to an incredibly soft and tender loaf with a beautiful golden crust. It's perfect for sandwiches, toast, or just eating by the slice with a pat of butter.
While fresh-baked bread is a comfort food we crave all year, there's something about a warm slice of potato bread that feels extra special in the fall and winter. The rich, satisfying flavor is perfect for soaking up a hearty soup or serving alongside a holiday roast.
This recipe is a fantastic addition to your Thanksgiving or Christmas dinner table, offering a lighter, more tender alternative to traditional rolls. You'll find it pairs beautifully with everything from savory stews to a simple smear of jam.
This homemade potato bread recipe was born from a simple idea: to bring the incredible texture and flavor of a mashed potatoes to a fresh loaf of bread. Just like that side dish or my caramelized onion mashed potatoes, this bread is incredibly moist and full of flavor, thanks to the addition of a single boiled potato. The starch from the potato helps create a wonderfully light and fluffy crumb that you just can't get with a regular bread recipe.
Jump to:
There's no better way to enjoy this bread than with a warm bowl of soup or a hearty sandwich. For a truly unforgettable meal, try serving a slice of this potato bread with our popular easy homemade refried beans. The bread's tender texture is ideal for dipping, and its mild, slightly sweet flavor complements the rich, savory beans perfectly. This pairing is guaranteed to become a go-to meal in your household.
Ingredients for Soft and Fluffy Potato Bread
Getting your ingredients ready is the first step to baking a beautiful loaf of bread. The key to this homemade potato bread recipe is the humble potato, which gives the bread its signature soft and tender crumb. Here's a quick overview of what you'll need to create this delicious loaf.
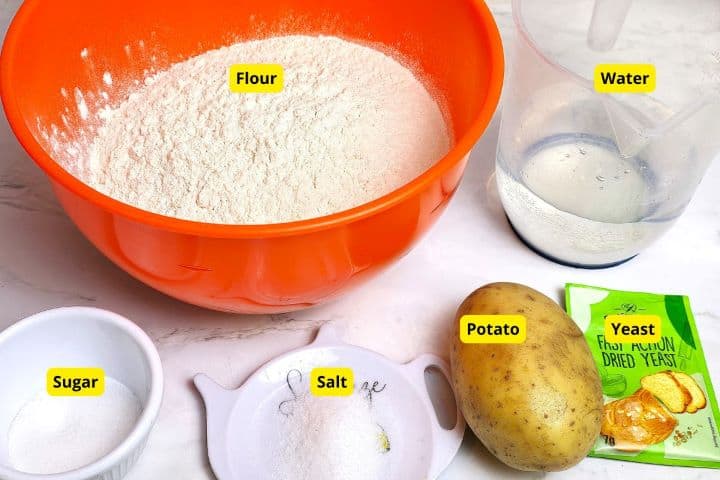
- Flour: Standard all-purpose flour works perfectly for this recipe. It gives the bread a soft, classic texture. You can also use bread flour for a slightly chewier result if you prefer.
- Water: Use warm water, around 105-115°F (40-46°C). This temperature is ideal for activating the yeast.
- Potato: One medium-sized potato, boiled and mashed, is the secret to this bread's incredible softness and moisture. The starch from the potato helps the bread stay fresh for longer.
- Sugar: Just a small amount of sugar helps to feed the yeast and gives the crust a beautiful golden-brown color.
- Salt: Salt is crucial for flavor and also helps control the yeast's activity, ensuring a good rise.
- Dried Yeast: This is the leavening agent that makes your bread light and airy. One standard packet of active dry yeast is perfect for this recipe.
See recipe card for quantities.
Step-by-Step: How to Make Potato Bread
Ready to get your hands dusty? Making this bread is a relaxing and rewarding experience. But if you're a visual learner, I highly recommend watching my full tutorial on how to bake this bread on my YouTube channel. Just click here to watch the homemade potato bread recipe video.
For a detailed breakdown of each step, follow the instructions below!
Prepare the Potato
This first step is crucial for the perfect texture of your bread. Place your whole, unpeeled potato (about 150 g) in a pot of cold water. Bring the water to a boil and cook until the potato is tender and soft all the way through.
Cooking the potato whole and unpeeled helps to prevent it from absorbing too much water, which is a key trick for a better result. Once cooked, drain the potato and let it cool slightly until you can handle it.

Once the boiled potato has cooled enough to handle, peel away the skin. Now, you have a choice. You can either mash the potato until it's perfectly smooth, or you can use a small grater to grate it. Grating is my personal preference as it creates fine, light shreds that integrate into the dough effortlessly, ensuring an even, soft texture throughout the finished loaf.

Make the Bread Dough
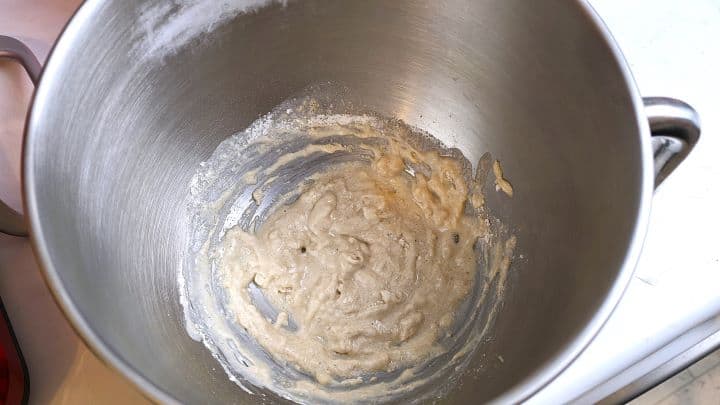
To start the dough, it's essential to activate the yeast first. In the bowl of your stand mixer, combine 50 g of flour, 1 teaspoon of sugar, 7 g of dried yeast, and 50 ml of warm water. Using a spoon, stir the ingredients together until they are fully combined.
Then, set the bowl aside in a warm place for about 30 minutes. You'll know the yeast is activated when the mixture becomes bubbly and frothy. This "yeast starter" is what will give your bread its beautiful rise.
Now that your yeast is bubbly and active, it's time to build the dough. To the stand mixer bowl, add the remaining 550 g of flour, the 12 g of salt, your grated potato, and the remaining 250 ml of warm water.
Using the dough hook attachment, start mixing on a low speed. Continue mixing until all of the ingredients come together and form a shaggy dough. You may need to scrape down the sides of the bowl to ensure everything is incorporated.

Once the dough has come together, continue to knead it with the dough hook for about 7-8 minutes on medium speed. The dough is ready when it is smooth, elastic, and no longer sticks to the sides of the bowl.
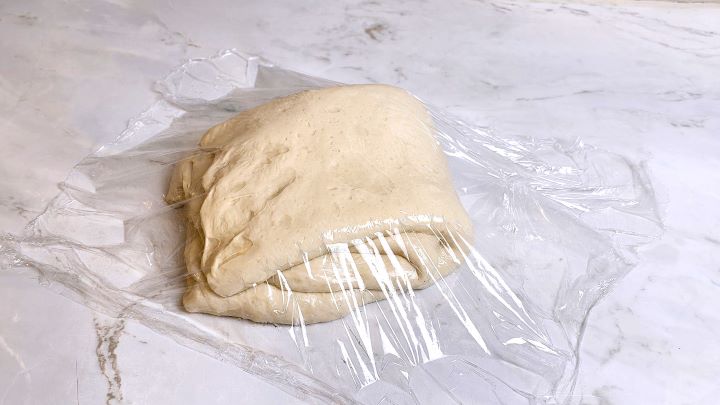
After kneading, form the dough into a ball and place it back into the bowl. Cover the bowl tightly with plastic wrap or a clean kitchen towel. Now comes the most important part: let the dough rest in a warm, draft-free place for about 1 to 1.5 hours, or until it has doubled in size. This first rise is what gives your bread its fantastic flavor and texture.

Prepare the Dough For Rising
Lightly grease your work surface with a small amount of oil to prevent the dough from sticking. Carefully turn the doubled dough out onto the prepared surface. Using your hands, gently press and roll the dough into a rectangular shape about 1 cm thick.

Next, you will fold the dough to create a tight, uniform loaf. Take one of the long ends and fold it over to cover about two-thirds of the dough. Then, take the opposite end and fold it over the top of the first fold. Finally, fold the entire length of the dough in half. This series of folds builds tension in the dough, which is essential for a good rise and an even texture in your finished bread.
Loosely cover the folded dough with plastic wrap or a clean kitchen towel. Place it back in a warm, draft-free spot and let it rise for another 30 minutes. This second, shorter rise is crucial for developing the final texture and ensuring your loaf is light and airy.
After the second rise, lightly grease your hands and your work surface once more. Gently press the dough down to release some of the air, then roll it out by hand into a rectangular shape.
Once it's in a rectangle, tightly roll the dough lengthwise into an oval or torpedo shape. As you roll, be sure to keep the dough taut. This final, tight shaping is what will give your loaf its beautiful structure and prevent it from spreading too much in the oven. Shape it to fit the size and form of your Dutch oven, or whatever baking vessel you plan to use.

Prepare for Baking
Carefully transfer your shaped dough to a baking dish or Dutch oven that you've lined with parchment paper. This will prevent sticking and make it easy to lift the finished bread out of the dish.
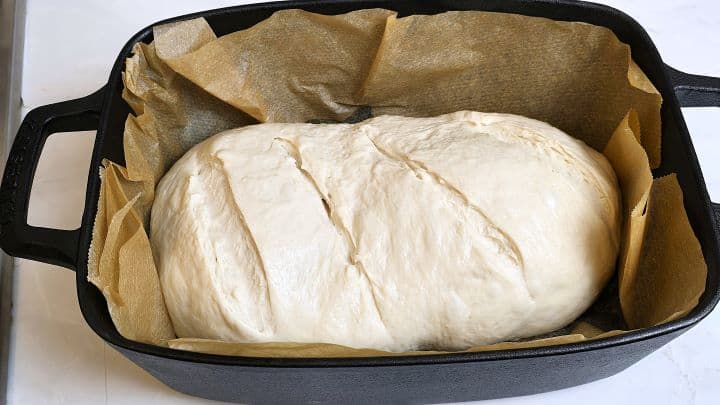
Place the lid on the baking dish or cover it tightly with foil. Let the dough sit in a warm, draft-free spot for a final 30 minutes. This last short rest, called "final proofing," is what gives the loaf its final lift before baking.
Baking the Bread
Preheat your oven to 230°C (450°F).
Carefully pour 50 ml of water directly into the bottom of your baking dish, making sure it's under the baking paper where your dough is resting. The steam created by the water is the secret to a perfect crust.
Carefully place the lid on your baking dish and slide it into the preheated oven. Bake for 30 minutes at 230°C. This initial blast of high heat combined with the steam helps the loaf achieve its maximum rise and a beautiful, crispy crust.
After 30 minutes, reduce the oven temperature to 200°C (400°F) and continue to bake for another 10 minutes with the lid still on.
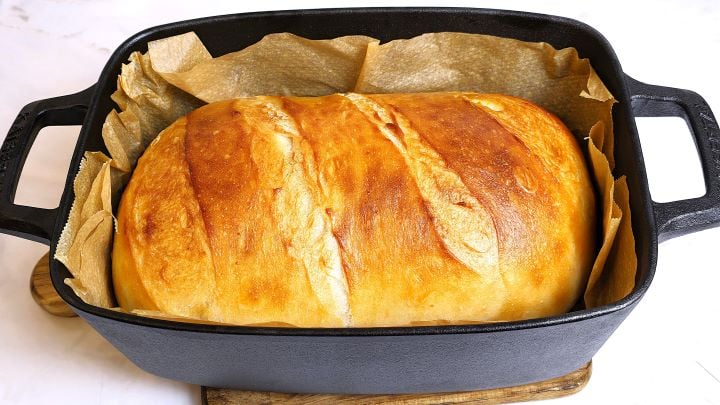
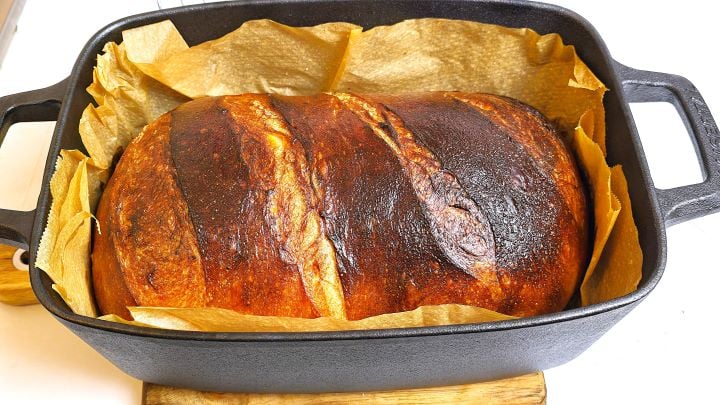
After the initial 40 minutes of baking, carefully remove the lid from your baking dish. Bake for an additional 10 to 12 minutes, or until the crust is a deep, golden brown and sounds hollow when tapped.
As soon as you take the bread out of the oven, use a pastry brush to lightly brush the top of the loaf with water. This simple trick helps to keep the crust wonderfully crispy.
Cooling the Bread
Finally, transfer the bread to a wire cooling rack and let it cool completely. This is the hardest part, but it's essential! Slicing into a hot loaf can make the inside gummy. Letting it cool ensures a perfect texture and a truly delicious result.
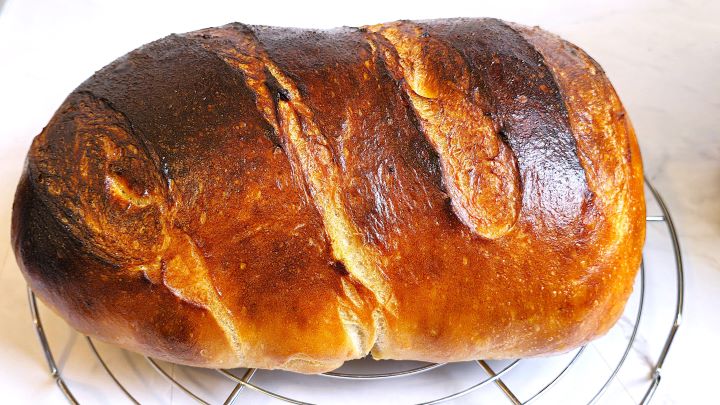
You've done it! While the process may seem long, each step is simple and straightforward, proving that a beautiful, homemade loaf of bread is well within your reach. This homemade potato bread recipe is a testament to the fact that the best things come from scratch.
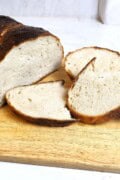
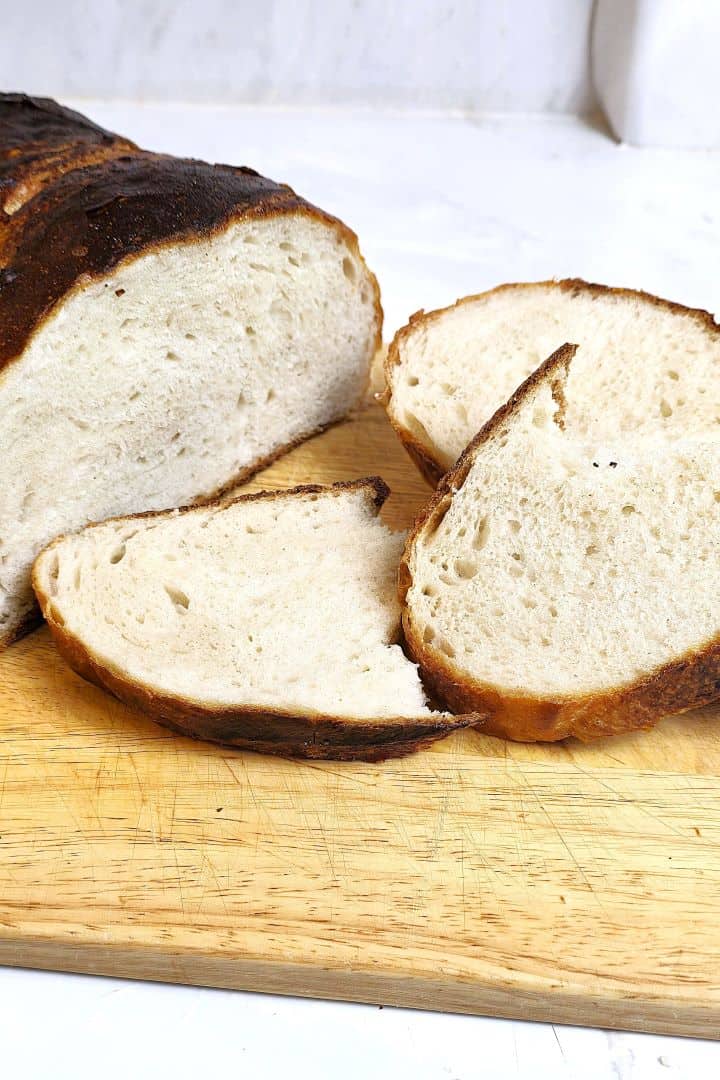
Now all that's left to do is slice into your perfectly baked, soft, and tender loaf and enjoy the incredible flavor and texture you created with your own two hands.
Variations
One of the best things about this homemade potato bread recipe is how versatile it is. Once you've mastered the basic loaf, you can easily add a few ingredients to create a completely new and delicious bread. Here are a few ideas to get you started.
- Herbs: For a savory loaf that pairs beautifully with dinner, mix in 2 tablespoons of finely chopped fresh herbs with the flour. Rosemary and thyme are classic choices, but chives or dill would also work well.
- Cheese and Onion: For an extra-flavorful loaf, sauté a finely diced onion in a pan until it's soft and translucent. Let it cool, then mix it into the dough along with 1 cup of shredded cheddar cheese after the first rise. The cheese and onion will bake into pockets of savory goodness throughout the bread.
- Garlic: To make a fantastic garlic bread base, add 1-2 teaspoons of garlic powder to the dry ingredients. For an even more intense flavor, you can mash a few cloves of roasted garlic into your boiled potato.
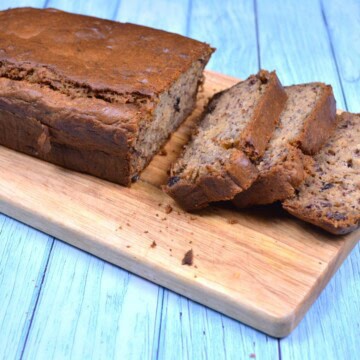
- Sweet Potato Bread: For a slightly sweeter, richer loaf, you can substitute the white potato with a sweet potato. The process is the same-boil, grate, and add to the dough-but the result will be a bread with a lovely orange hue and a subtle sweetness that's perfect for toast or breakfast.
Serving the Bread
Your freshly baked potato bread is a delicious, versatile loaf that can be enjoyed in so many ways. Once it has cooled completely, slice it and serve it however you like!
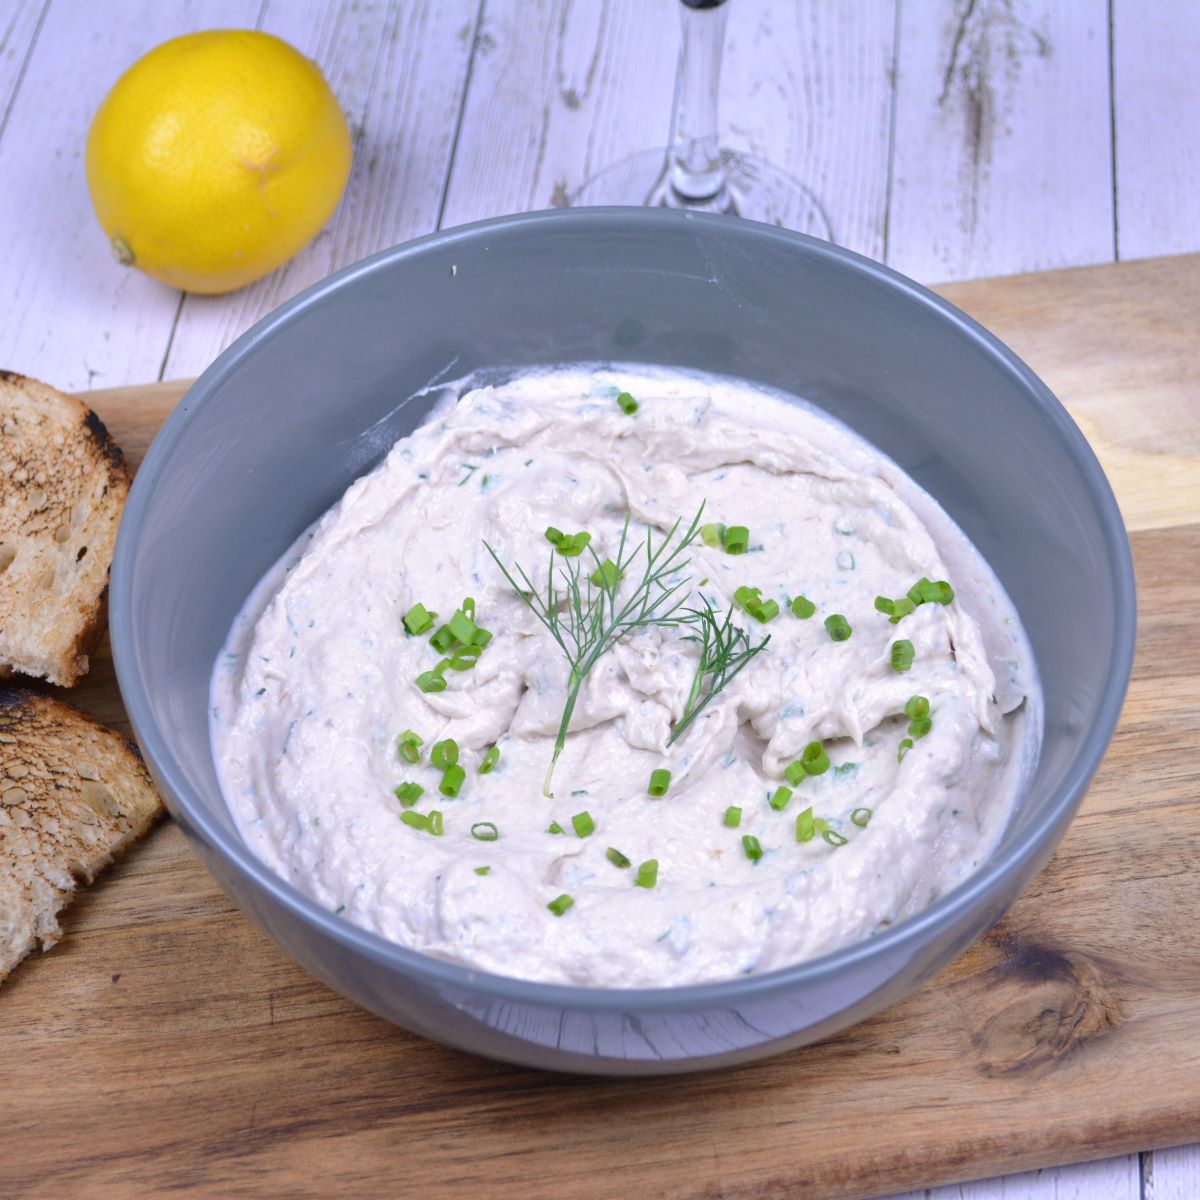
- Toast: Simply toasted with a pat of butter, vegan garlic mushrooms or my delicious celeriac dip, this bread is a fantastic breakfast or snack. The crispy crust and soft interior are a match made in heaven.
- Sandwiches: The tender crumb of this bread makes it an ideal choice for sandwiches. It's sturdy enough to hold up to fillings, but soft enough that it won't overwhelm them.
- Soup: This bread is the perfect companion to a warm, hearty bowl of carrot and lentil soup. Tear off a piece and use it to sop up every last drop of your favorite creamy pork stew or chili.
- Bruschetta: For a simple appetizer, slice and lightly toast the bread, then top with fresh tomatoes, basil, and a drizzle of olive oil. The soft texture of the bread provides a perfect contrast to the fresh toppings.

Storage
Freshly baked bread is best enjoyed within a day or two, but this potato bread stays moist and delicious for much longer than a typical loaf.
To keep it fresh, store the bread in a paper bag or a bread box at room temperature for up to 3-4 days. A paper bag allows air to circulate, which helps to keep the crust from getting soggy. Avoid storing it in a plastic bag, as this can trap moisture and make the crust soft.

For longer-term storage, freezing is your best option. Slice the loaf and place the slices in a single layer on a baking sheet to flash freeze for about 30 minutes. Once frozen, transfer the slices to a freezer-safe bag or airtight container. The slices can be frozen for up to 3 months. You can then simply pop a slice in the toaster directly from the freezer whenever you want to enjoy a fresh piece.
Top Tip
The key to a truly fantastic potato bread is the consistency of your boiled potato. Make sure your boiled potato is grated or mashed until it is completely lump-free. Any small chunks of potato can prevent the gluten from developing properly around them, leading to a denser, uneven texture in your finished loaf. A smooth, starchy potato is the secret to a perfectly soft and fluffy crumb.
FAQ
The most likely reason is that your yeast wasn't properly activated. Make sure your water is warm, not hot (around 40°C), as water that is too hot can kill the yeast. Another reason could be a cool room temperature. Yeast works best in a warm, draft-free environment. Giving your dough more time to rise can also help.
While this recipe is specifically designed for a boiled and grated potato, you can use leftover mashed potatoes. However, be aware that the moisture content and salt level can vary. If your mashed potatoes are thin, you may need to reduce the amount of water in the recipe. If they are already well-seasoned, you may need to reduce the amount of salt.
A Dutch oven is highly recommended for this recipe as it traps steam, creating the perfect environment for a crusty loaf. If you don't have one, you can still get good results by baking in a loaf pan and creating steam by placing a small pan of water on the rack below the bread.
We hope this homemade potato bread recipe inspires you to get into the kitchen and bake a fresh loaf for your family and friends. We would love to see your creations and hear how your bread turned out! Be sure to share a photo and tag us on social media. You can find us on Facebook, Instagram, and Pinterest for more recipe inspiration. And for a step-by-step video guide to all our recipes, be sure to subscribe to our YouTube channel. Happy baking!
Related
Looking for other dough recipes like this? Try these:


Pairing
These are my favorite dishes to serve with the homemade potato bread:


Easy Homemade Potato Bread Recipe You'll Love
Equipment
- 1 Saucepan
- 1 grater
- 1 stand mixer
- 1 Dutch oven pot
Ingredients
- 600 g flour
- 150 g potato boiled, grated
- 300 ml water warm
- 1 teaspoon sugar
- 12 g sea salt
- 7 g dried yeast one sachet
- 50 ml water for baking
Instructions
- Place your whole, unpeeled potato in a pot of cold water. Bring the water to a boil and cook until the potato is tender and soft all the way through. Once cooked, drain the potato and let it cool
- Once the boiled potato has cooled enough to handle, peel away the skin and grate it using a small grater.
- In the bowl of the stand mixer, combine 50 g of flour, 1 teaspoon of sugar, 7 g of dried yeast, and 50 ml of warm water. Using a spoon, stir the ingredients together until they are fully combined. Set the bowl aside in a warm place for about 30 minutes.
- Add the remaining flour, the salt, your grated potato, and the remaining 250 ml of warm water. Knead it with the dough hook for about 7-8 minutes on medium speed.
- After kneading, form the dough into a ball and place it back into the bowl. Cover the bowl tightly with plastic wrap and let the dough rest for about 1 to 1.5 hours, or until it has doubled in size.
- Grease your work surface with a small amount of oil and turn the doubled dough out onto the prepared surface. Using your hands, gently press and roll the dough into a rectangular shape about 1 cm thick.
- Take one of the long ends and fold it over to cover about two-thirds of the dough. Then, take the opposite end and fold it over the top of the first fold. Finally, fold the entire length of the dough in half.
- Cover the folded dough with plastic wrap. Place it back in a warm, draft-free spot and let it rise for another 30 minutes.
- Grease your hands and your work surface once more. Gently press the dough down to release some of the air, then roll it out by hand into a rectangular shape.
- Tightly roll the dough lengthwise into an oval or torpedo shape. As you roll, be sure to keep the dough taut.
- Transfer your shaped dough to a baking dish or Dutch oven that you've lined with parchment paper. Place the lid on the baking dish and let the dough sit for a final 30 minutes.
- Pour 50 ml of water directly into the bottom of your baking dish, making sure it's under the baking paper where your dough is resting.
- Place the lid on your baking dish and slide it into the preheated oven. Bake for 30 minutes at 230°C. Reduce the oven temperature to 200°C (400°F) and continue to bake for another 10 minutes with the lid still on.
- Remove the lid from your baking dish. Bake at 200°C (400°F) for an additional 10 to 12 minutes, or until the crust is a deep, golden brown.
- Take the bread out of the oven and use a pastry brush to lightly brush the top of the loaf with water.
- Transfer the bread to a wire cooling rack and let it cool completely.
Video
Notes
Nutrition
This post contains affiliate links. Read the full disclosure here.


Laci says
An easy recipe to make at home.