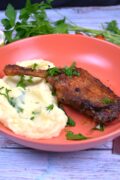
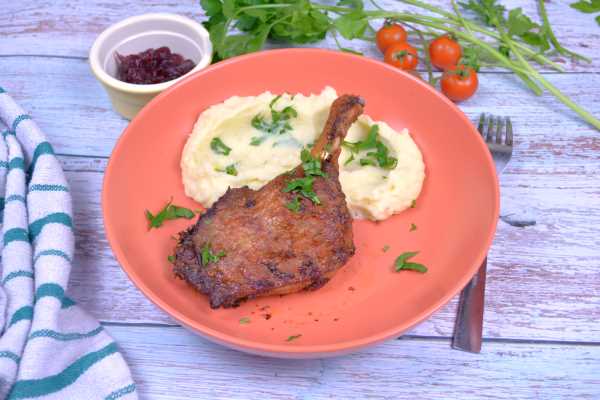
If you've been looking for a way to achieve restaurant-quality duck at home without the greasy mess or the three-hour wait, these Crispy Air Fryer Duck Legs are a total game-changer. While duck is famous for its rich flavor, the secret to a perfect leg is rendering the thick layer of fat until the skin becomes thin and shatteringly crisp.

By using the air fryer, you get the best of both worlds: a gentle "confit" effect that keeps the meat tender and juicy, followed by a blast of convection heat that creates that iconic golden-brown crunch. Seasoned with a fragrant garlic and marjoram paste, this recipe turns a simple cut of poultry into a gourmet masterpiece.
Jump to:
The recipe includes two essential steps. The first is to make a mixture of spices with which I will coat the thighs well and, ideally, let them sit like this for a while in a cold place. The second step is to put them in the air fryer's basket and fry them.
While duck legs are a staple in French bistros year-round, they are particularly popular during the holiday season. Because of their rich, festive feel, they have become a favorite for Christmas dinner, New Year's Eve, or even a sophisticated Valentine's Day meal at home. This recipe was inspired by the success of my Cosori Air Fryer Whole Chicken-I wanted to apply those same foolproof roasting techniques to duck, focusing on rendering that thicker layer of fat for even more crunch.
To turn this into a complete "bistro-style" feast, I highly recommend pairing the duck with my Brussels Sprouts with Lemon. The saltiness of the bacon and the slight bitterness of the sprouts perfectly cut through the richness of the duck fat, creating a balanced, restaurant-quality plate in under an hour.
The Ingredients for Perfect Air Fryer Duck
To get that signature bistro-style finish, we use a combination of rich fats and aromatic spices. Each ingredient serves a specific purpose in transforming the duck from a simple cut of meat into a crispy masterpiece.
- Duck Legs: 2 large legs (Moulard or Pekin work best).
- Garlic: 4 fresh cloves. Avoid the jarred stuff-fresh garlic provides the "bite" needed to balance the rich meat.
- Dried Marjoram: This floral, slightly sweet herb is the traditional partner for duck, providing an aroma that is more sophisticated than standard oregano.
- Sweet Paprika: This is the secret to that deep, golden-red "copper" color. It also adds a mild, earthy sweetness.
- Duck Fat: We use a small amount of extra duck fat to bind the herbs into a paste. This ensures the seasoning stays glued to the leg during the high-speed air circulation.
- Coarse Sea Salt & Black Pepper: Essential for seasoning and drawing moisture out of the skin for maximum crunch.

See recipe card for quantities.
How to Make the Crispiest Air Fryer Duck Legs
The key to perfect duck isn't just the ingredients; it's the technique. To get that succulent "fall-off-the-bone" meat, we use a two-stage temperature method that mimics the traditional French confit process, but in a fraction of the time. If you're a visual learner, I've recorded a step-by-step video to show you exactly how to score the skin and apply the herb paste for the best results.
Step 1: Preparing the Signature Herb Paste
Before we touch the air fryer, we need to build a flavor base. This manual process ensures the garlic releases its natural oils and bonds with the spices.
Start by finely chopping the 4 cloves of garlic. This makes it easier to crush into a smooth paste.

Place the chopped garlic into a mortar and add the coarse sea salt. Use the pestle to crush the garlic into the salt until a thick paste forms. The salt acts as an abrasive to break down the garlic fibers.

Incorporate the black pepper, sweet paprika, and dried marjoram. The paprika will turn the paste a deep, rich red.

Finally, add the spoonful of duck fat and mix everything together. This creates a "wet rub" that is easy to spread and won't burn under the air fryer's fan.

Step 2: Prepping the Duck for Maximum Flavor
Now that your aromatic paste is ready, it's time to prepare the duck. This stage is where we ensure the skin becomes crispy and the meat stays juicy.
- Score the Skin: Before applying the paste, use a toothpick or the tip of a sharp knife to gently prick the skin of the duck legs all over. Focus on the thicker fatty areas around the edges. Be careful not to pierce the meat, as this would allow the juices to escape, making the meat dry.
- The Massage: Spoon your handmade garlic-marjoram paste onto each leg. Using your hands, massage the paste deeply into the skin, making sure to coat the underside and the joints. The duck fat in the paste helps the spices adhere, creating a protective layer of flavor.
- The Marinade (1 Hour): Place the coated legs in a glass bowl or a zip-top bag. Let them rest in the refrigerator for at least one hour. This is a non-negotiable step! The salt in the paste needs time to penetrate the meat and start breaking down the connective tissues, while the garlic and marjoram infuse the fat with a deep aroma.

Step 3: The Three-Stage Air Fryer Cooking Method
Achieving the perfect duck leg is all about patience. We use a strategic temperature shift to ensure the fat renders out completely while the meat stays succulent.
The First Render (Skin-Side Down): Place the marinated legs in the air fryer basket skin-side down. Set your air fryer to 150°C (300°F) and cook for 35 minutes. This allows the heavy fat layer on the bottom to start melting away into the basket.

The Second Render (Skin-Side Up): Carefully flip the legs over so they are skin-side up. Keep the temperature at 150°C (300°F) and cook for another 35 minutes. During this stage, you will see the skin begin to tighten and the meat start to become tender.

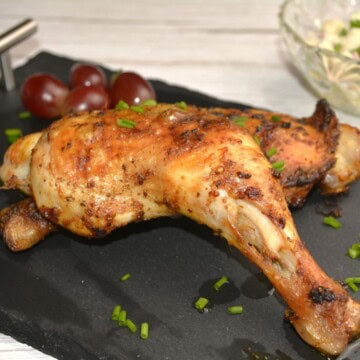
The Golden Crisp (High Heat): For the final 2 minutes, increase the temperature to 200°C (400°F). This high-heat blast "flash-fries" the skin in the remaining oils, resulting in a deep copper color and a crunch you can hear.

How to Know They Are Done
- The Look: The skin should be bubbly, dark golden-brown, and firm to the touch (it shouldn't feel soft or "wiggly").
- The Bone: Look at the "drumstick" part of the leg; when the meat begins to pull back and expose the bone, it's a sign that the connective tissue has broken down and the duck is tender.
- Internal Temp: While duck is safe at 74°C (165°F), it is best enjoyed when the internal temperature reaches 80°C-82°C (175°F-180°F). This higher temp is what gives you that "melt-in-your-mouth" texture.
Important: Let it Rest!
Once you remove the duck from the air fryer, let it rest on a cutting board or warm plate for 5-10 minutes before serving. This allows the juices to redistribute so the meat stays moist when you bite into it.
What to Serve with Air Fryer Duck
Because duck is rich and savory, it pairs beautifully with sides that have a bit of acidity or sweetness:
- Potatoes: Roasted in the very fat you just rendered, creamy mashed potatoes, or my caramelized onion mashed potatoes.
- Vegetables: Balsamic glazed carrots or my marinated roasted red peppers.
- Sauces: A simple blackberry reduction or a classic orange sauce (Bigarade) works wonders.

How to Store and Reheat Air Fryer Duck Legs
If you happen to have leftovers (though they are so delicious, you probably won't!), duck saves remarkably well thanks to its high fat content, which keeps the meat moist even after refrigeration.
In the Refrigerator
- Cooling: Allow the duck legs to cool to room temperature before storing.
- Container: Place them in an airtight container. They will stay fresh for up to 3 to 4 days.
- The Fat: Store the rendered duck fat in a separate glass jar. It will solidify and turn white in the fridge; this is normal!
In the Freezer
- Wrap: Wrap each leg individually in plastic wrap or foil, then place them in a heavy-duty freezer bag.
- Duration: For the best quality, consume within 2 to 3 months.
The Best Way to Reheat (To Keep the Crunch)
Whatever you do, avoid the microwave! It will make the skin rubbery. To bring back that "just-cooked" texture:
- Place the cold duck legs back into the Air Fryer.
- Heat at 180°C (350°F) for about 5-8 minutes.
- The skin will begin to sizzle and crisp back up, while the meat warms through without becoming tough.
Zero-Waste Tip: Using the Leftovers
Leftover duck meat is a gourmet goldmine. If you don't want to eat the leg whole the next day, shred the meat and use it for:
- Duck Tacos: With pickled red onions and lime.
- Duck Ragu: Tossed with pappardelle pasta.
- Salad Topping: Served cold over a bed of arugula with a citrus vinaigrette.
Pro-Tips for the Best Air Fryer Duck
- Avoid the Smoke: Duck is very fatty. If your air fryer starts to smoke during the 200°C (400°F) stage, it's because the rendered fat in the bottom is burning. To fix this, simply pour out the liquid fat halfway through the cook or place a slice of bread in the bottom of the air fryer drawer to soak up the drippings.
- Don't Overcrowd: Ensure there is space between the two legs. The air needs to circulate around the entire leg to get the skin crispy on the sides, not just the top.
- The Toothpick Test: If you aren't sure if the fat is rendered enough, poke the skin with a toothpick. It should feel thin and offer resistance, like a shell, rather than feeling soft and squishy.
F.A.Q.
The secret is the cold, dry skin. If possible, leave the duck legs uncovered in the fridge for a few hours before you start the recipe. This air-dries the skin, making it much easier to crisp up in the air fryer.
Yes, but they must be fully thawed before you begin. If the center is still frozen, the meat will be tough, and the fat won't render properly. Thaw them in the refrigerator overnight for the best results.
Unlike chicken, duck is a red meat bird. It is perfectly safe and often preferred to be served slightly pink (medium) at an internal temperature of 74°C (165°F). However, for duck legs, we cook them longer (to about 82°C/180°F) to ensure the meat is "fall-off-the-bone" tender.
Filter the fat through a fine-mesh sieve into a glass jar. Store it in the fridge for up to 3 months. It is the gold standard for roasting potatoes, sautéing mushrooms, or even frying eggs!
For me, the air fryer has become my best friend in the kitchen and with which I successfully try countless recipes. If you are interested in more, I recommend a few:
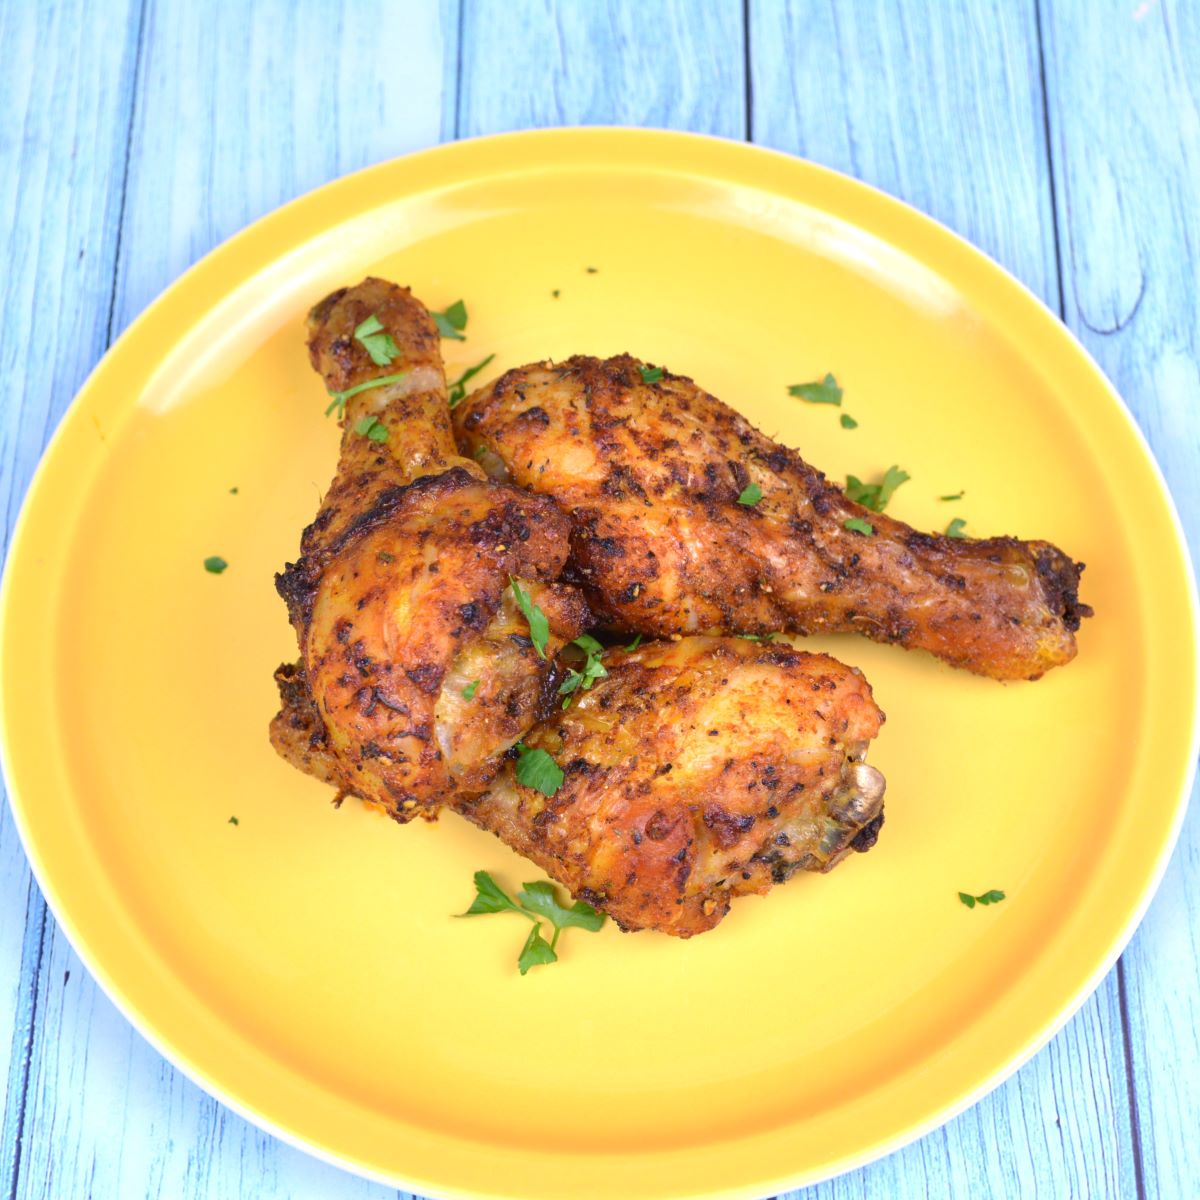
- Air Fryer Honey Garlic Chicken Wings
- Air Fryer Sweet Potato Wedges
- Air Fryer Doughnuts From Scratch
- Pork Steak in an Air Fryer

There you have it-restaurant-quality Crispy Air Fryer Duck Legs made simple. By taking the time to render the fat slowly at a low temperature before finishing with a high-heat blast, you achieve a level of crunch and tenderness that is hard to beat.
Follow us on social media and follow us on our Facebook or Instagram pages and give us a like on your favourite recipes. You can pin these dishes to your collection on Pinterest or watch us cook on our new YouTube channel, where you can also subscribe.
Related
Looking for other air fryer recipes like this? Try these:


Crispy Air Fryer Duck Legs
Equipment
- 1 Cosori Air Fryer XXL
- 1 mortar
Ingredients
- 2 pieces duck legs approx. 200-250g each
- 4 cloves garlic finely chopped
- 1 tablespoon sea salt kosher
- 1 tablespoon duck fat melted
- ½ teaspoon ground pepper freshly ground
- 1 teaspoon marjoram dried
- 1 teaspoon paprika mild
Instructions
- Finely chop the garlic. In a mortar, combine the garlic and sea salt. Crush with the pestle until a smooth paste forms. Add the marjoram, paprika, and black pepper. Stir in the melted duck fat to create a wet rub.
- Pat the duck legs completely dry with paper towels. Use a toothpick or sharp knife to prick the skin dozens of times (do not pierce the meat).
- Massage the herb paste thoroughly over all sides of the duck legs. Place in a bowl, cover, and refrigerate for at least 1 hour.
- Place the legs in the air fryer basket skin-side down. Cook at 150°C (300°F) for 30 minutes.
- Flip the legs to skin-side up. Continue cooking at 150°C (300°F) for another 30 minutes.
- Increase the temperature to 200°C (400°F). Cook for a final 10 minutes until the skin is deep golden brown and crispy.
- Remove from the air fryer and let the duck rest for 5-10 minutes before serving.
Video
Notes
- Pro Tip: Save the rendered fat from the bottom of the air fryer basket for roasting potatoes later!
- Avoid Smoke: If your air fryer smokes during the final 10 minutes, pour out the liquid fat from the bottom drawer or place a piece of bread under the basket to soak up the drippings.
- Internal Temp: For the most tender results, aim for an internal temperature of 82°C (180°F).
Nutrition
This post contains affiliate links. Read the full disclosure here.


Leave a Reply