
If you love the flavors of traditional Hungarian Madártej but crave a dessert you can actually serve on a plate, this floating island cake recipe is exactly what you need. Instead of poached meringue clouds floating in a bowl of soupy custard, this baked version transforms those classic vanilla flavors into an elegant, layered dessert. It features a tender sponge base, a rich homemade vanilla pudding center, and a fluffy whipped cream topping, giving you all the nostalgic taste of the original in a beautifully structured, sliceable form.
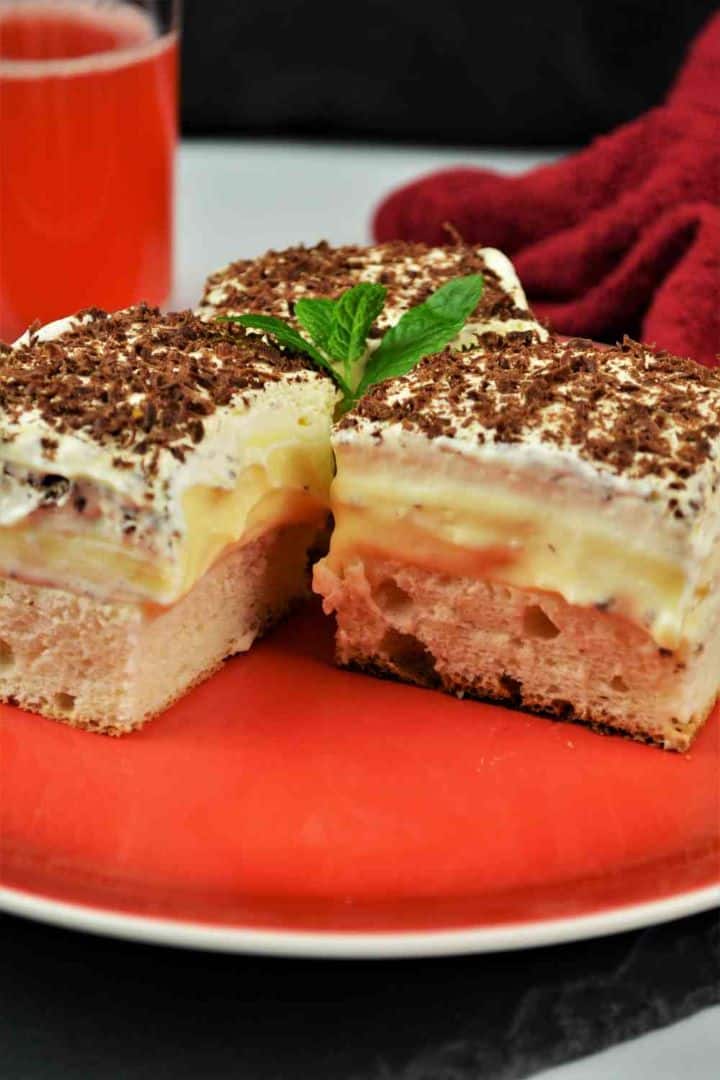
This light, creamy cake is the perfect sweet finish after a rich, hearty family dinner like our traditional Turkey Paprikash or Transylvanian Cabbage Casserole.
Jump to:
- Why You'll Love This Sliceable Madártej
- Ingredients for Floating Island Cake
- Simple Substitutions
- How to Make Floating Island Cake Step-by-Step
- Expert Tips for a Flawless Floating Island Cake
- Servings, Storage & Make-Ahead Tips
- Frequently Asked Questions
- More Cake & Dessert Recipes You'll Love
- Enjoy Your Sliceable Madártej!
- More Delicious Desserts to Try
- Floating Island Cake (Sliceable Madártej)
Why You'll Love This Sliceable Madártej
- Authentic Flavor, Zero Fuss: You get all the nostalgic, rich vanilla and cloud-like textures of traditional Hungarian Madártej without the stressful, time-consuming process of poaching individual meringue dumplings in hot milk.
- Perfect for Entertaining: Traditional floating island is served in bowls and can quickly look messy. This structured cake version slices beautifully, giving you an elegant, bakery-worthy presentation that is perfect for guests and family gatherings.
- Make-Ahead Friendly: Because the vanilla pudding and whipped cream layers need time to set, this is the ultimate stress-free dessert. It actually tastes better the next day after resting in the fridge overnight.
- Incredible Texture Contrast: The combination of a tender baked sponge base, a thick and creamy homemade vanilla pudding center, and a fluffy whipped cream topping delivers a perfect bite every single time.
If you love the authentic vanilla flavors of this cake, you will also love our classic Császármorzsa / Shredded Pancake.
Ingredients for Floating Island Cake
To get those authentic Madártej layers perfectly structured, we break the ingredients down into three simple parts.
1: For the Cloud-Like Sponge Base:
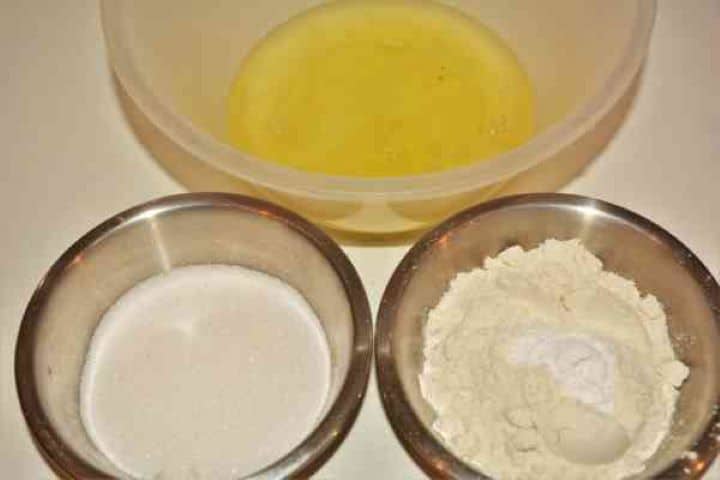
- 8 Egg Whites: Use large, free-range eggs. We use only the whites here to recreate the airy, white meringue clouds of traditional Madártej. (Save all eight yolks for the vanilla cream layer!)
- Sugar: Caster sugar (superfine) dissolves easily into the egg whites to create stiff, glossy peaks.
- Flour: Standard plain wheat flour (all-purpose) gives the sponge its structure.
- Baking Powder & Salt: A small amount of baking powder helps the sponge rise, while a pinch of salt balances the sweetness.
2: For the Rich Vanilla Cream:
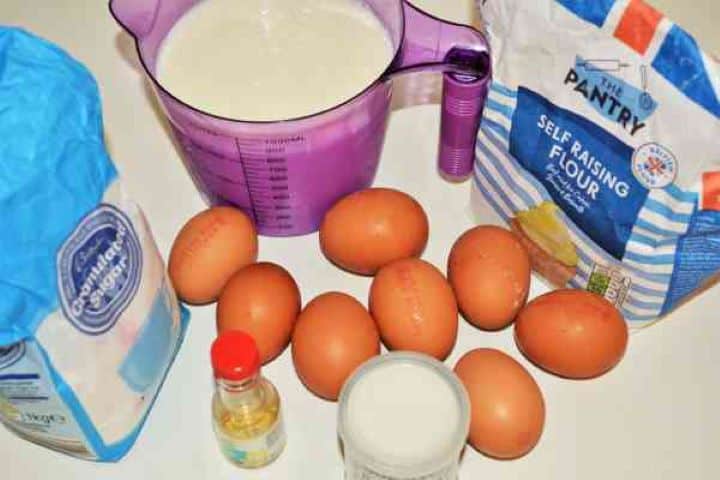
- 2 Sachets Vanilla Pudding Powder: Store-bought vanilla pudding powder is the secret to getting a thick, stable custard that sets up perfectly for slicing.
- Milk: Cold whole milk to mix with the pudding powder.
- 8 Egg Yolks: Added directly into the hot pudding to give the cream that authentic, rich Madártej color and flavor.
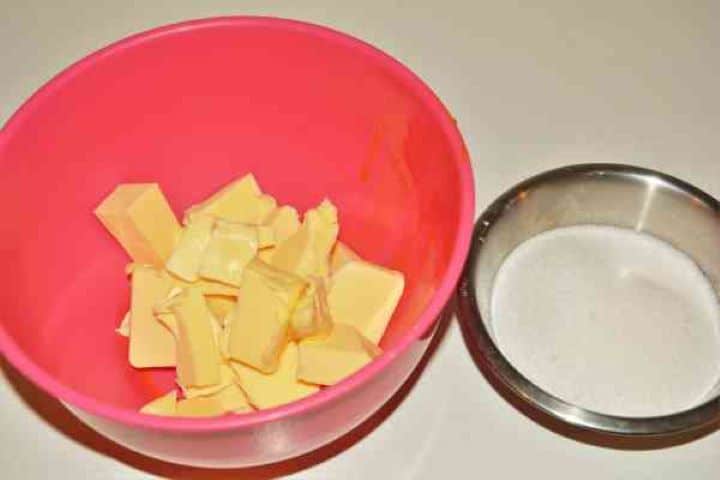
- Soft Butter: Unsalted butter at room temperature forms the base of the buttercream.
- Sugar: Whipped with the butter to sweeten the cream layer.
- Vanilla Essence: Enhances the vanilla flavor of the pudding powder for a true homemade taste.
3: For the Fluffy Topping & Garnish:
- Double Cream (Heavy Whipping Cream): Must be very cold directly from the fridge to whip into stiff, stable peaks.
- Powdered Sugar (Icing Sugar): Just a touch to lightly sweeten the cream without adding any grittiness.
- Dark Chocolate: Grated generously over the finished cake. The slight bitterness beautifully cuts through the sweet vanilla cream and fluffy whipped cream.
Simple Substitutions
- The Pudding: If you cannot find European-style vanilla pudding sachets (like Dr. Oetker), you can use standard instant or cook-and-serve vanilla pudding mix, but ensure it is the type that requires cooking on the stove for the correct firmness.
- Gluten-Free Option: You can easily swap the plain wheat flour in the sponge for a 1:1 gluten-free baking blend. Double-check that your specific brand of pudding powder is certified gluten-free.
- The Vanilla: A high-quality vanilla extract or vanilla bean paste can be used in place of vanilla essence for an even deeper flavor.
How to Make Floating Island Cake Step-by-Step
Follow these instructions carefully to ensure your cake layers set perfectly for clean slicing.
1: Bake the Cloud-Like Sponge Base
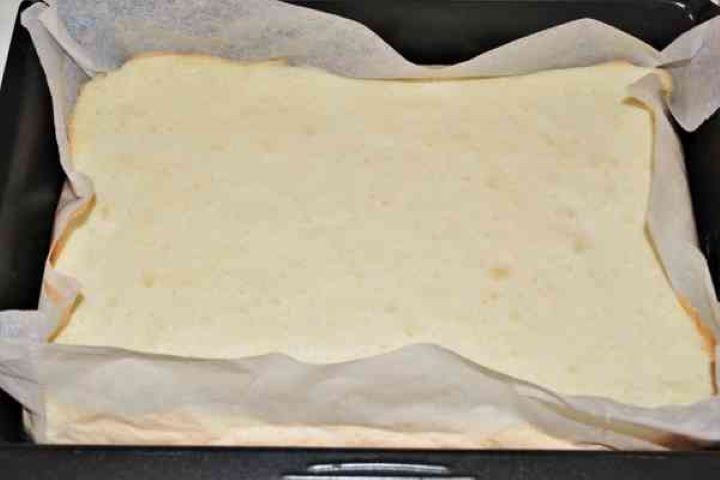
- Preheat your oven to 180°C (350°F) and line a rectangular baking dish with parchment paper. In a large glass or metal bowl, whip the egg whites with a pinch of salt until soft peaks begin to form. Gradually add the sugar and continue whipping until you reach stiff, glossy peaks.
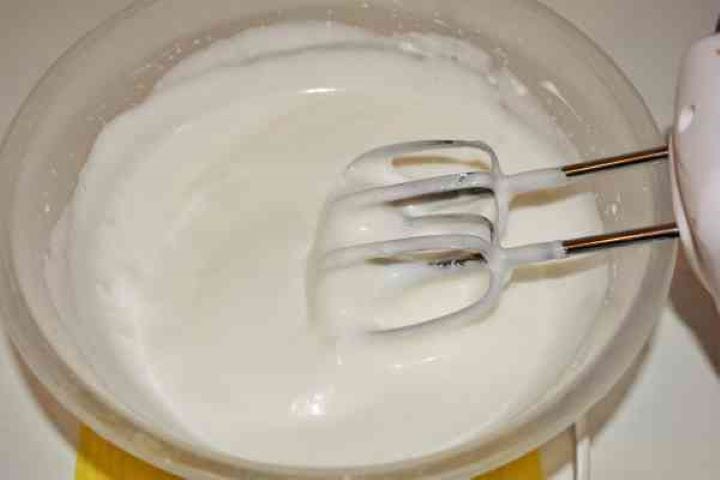
- Gently fold in the flour and baking powder using a spatula, being very careful not to deflate the airy batter. Spread the mixture evenly into your prepared dish and bake for 20-25 minutes until lightly golden and set.
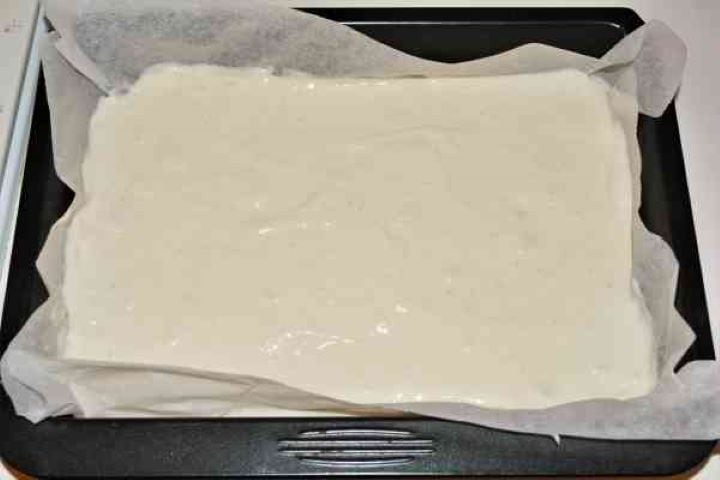
- Set aside to cool completely.
2: Cook the Vanilla Pudding Base
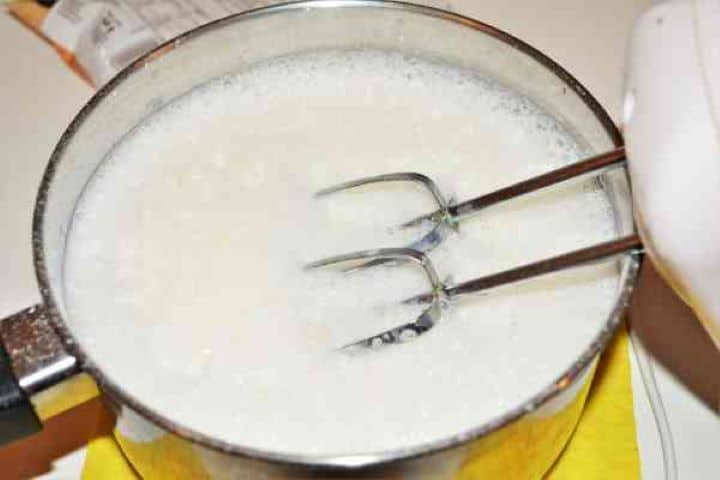
- In a saucepan, combine the contents of the two vanilla pudding sachets with the cold milk. Mix with an electric mixer until fully incorporated, then place the pan on the stove. Cook while mixing continuously with a whisk.
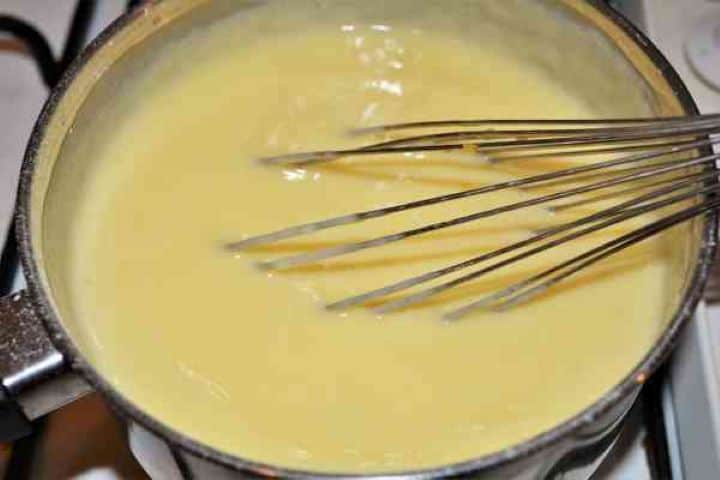
- When the pudding starts to boil and thicken, add the eight egg yolks one by one, stirring constantly. Turn off the heat and let the pudding cool completely.
3: Prepare the Vanilla Buttercream
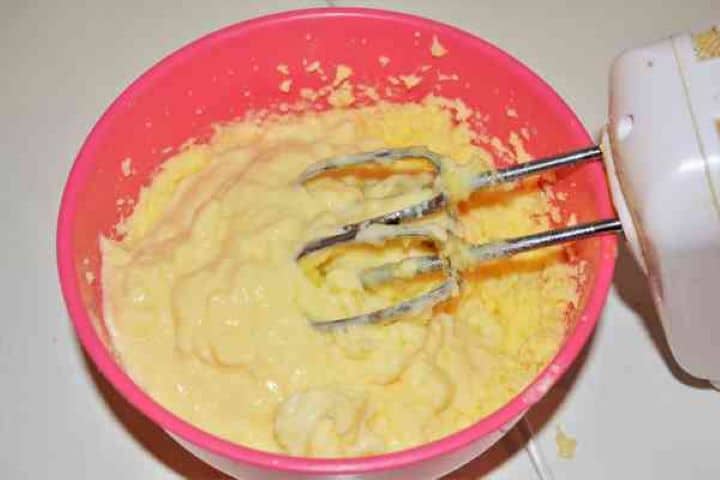
- In a separate bowl, add the soft butter, sugar, and vanilla essence. Mix well with an electric mixer or a whisk until you get a homogeneous paste.
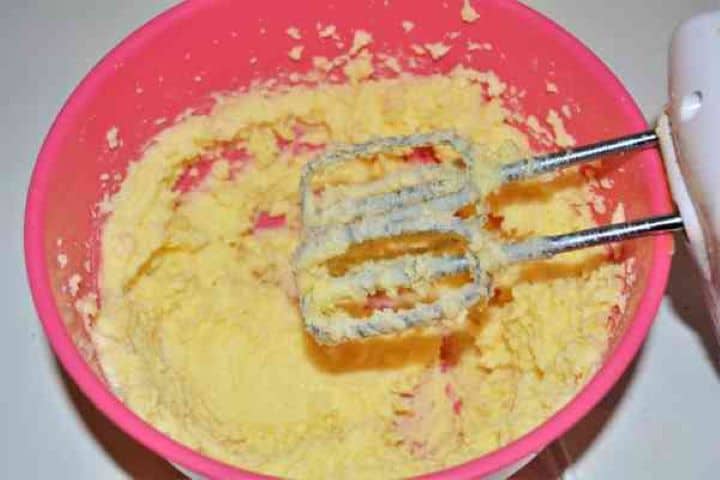
- Once the cooked vanilla pudding has cooled completely, pour it over the buttercream. Mix them together with the electric mixer until you obtain a fine, smooth cream.
4: Assemble the Core Layers & Chill
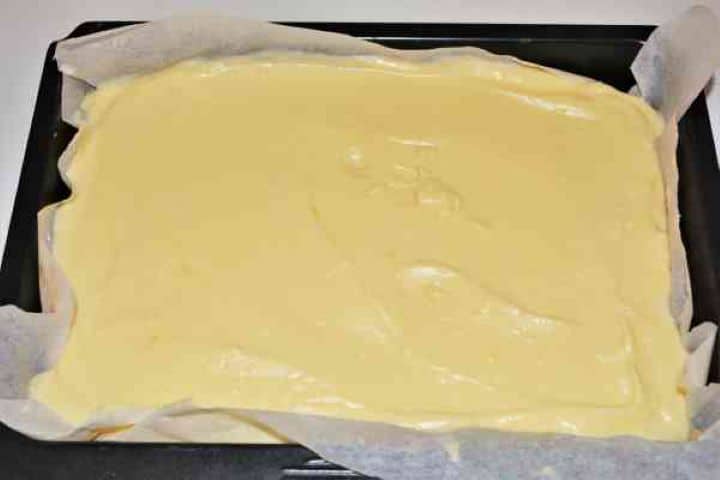
- Spread the finished vanilla cream evenly over the cooled sponge cake right in the baking tray, leveling the top as smoothly as possible. Place the baking tray in the fridge to harden the vanilla cream.
5: Whip the Cream & Garnish
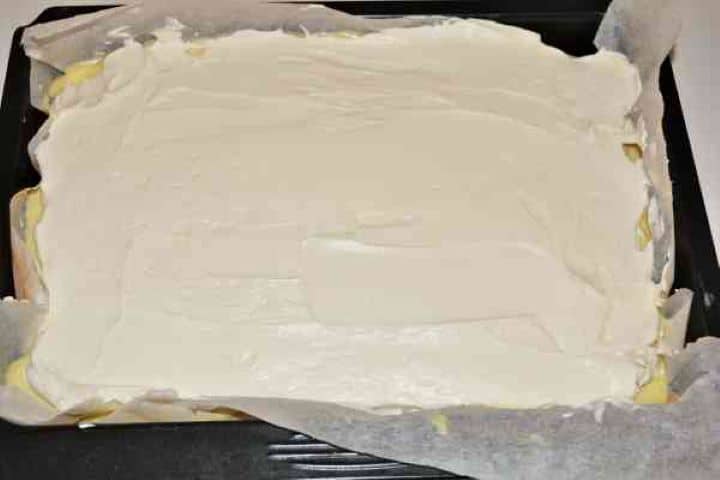
- Once the vanilla cream layer has set in the fridge, pour your cold double cream into a mixing bowl. Add the powdered sugar and whip until stiff, stable peaks form. Spread the whipped cream evenly over the cold vanilla cream layer.
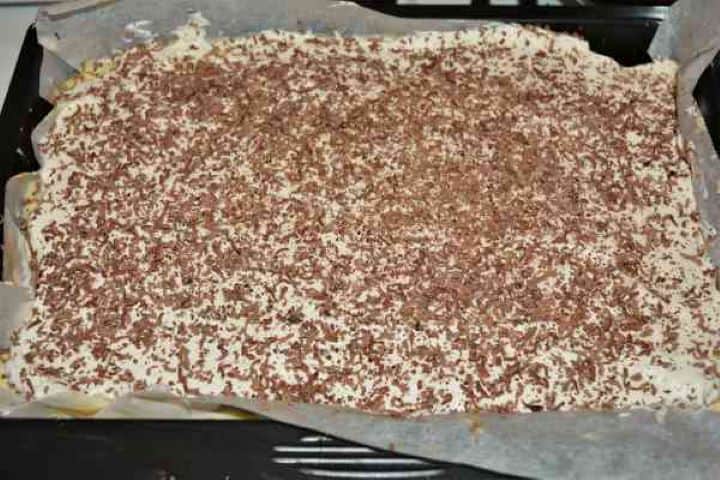
- Take a block of dark chocolate and grate it generously over the top of the whipped cream.
6: Slice and Serve
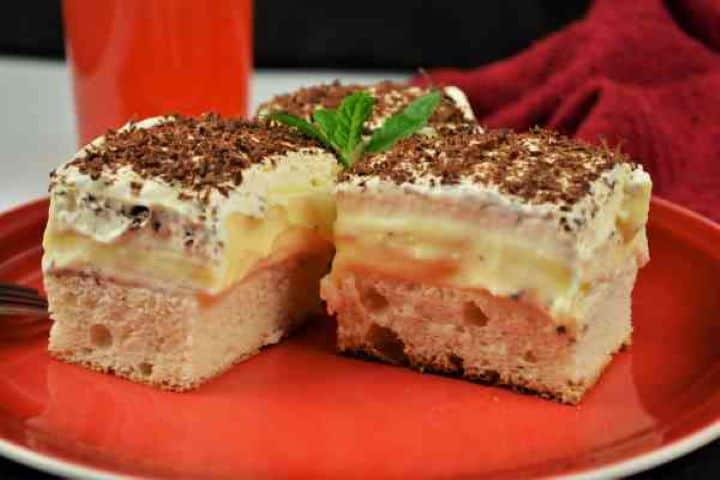
- When ready to serve, run a sharp knife under hot water, wipe it dry, and slice the cake into neat squares. The warm knife will glide smoothly through the chocolate, whipped cream, firm vanilla buttercream, and sponge.
Expert Tips for a Flawless Floating Island Cake
- Temperature is Everything for the Cream: The secret to a perfectly smooth, silky vanilla cream layer is making sure your cooked pudding and your butter are at the exact same temperature before mixing. The pudding must be completely cooled to room temperature. If it is even slightly warm, it will melt the butter and turn your cream into a runny, separated mess.
- Keep the Sponge Airy: When adding the flour and baking powder to your stiff egg whites, put the electric mixer away. Use a silicone spatula to gently fold the dry ingredients in using a figure-eight motion. This traps the air bubbles inside, ensuring your sponge bakes up like a delicate cloud rather than a dense pancake.
- Whisk the Yolks Vigorously: When adding the eight egg yolks to the boiling pudding, you must stir constantly and quickly with a whisk. Adding them one by one while whisking prevents the yolks from scrambling in the hot liquid, keeping the base custard perfectly smooth.
- The Hot Knife Method: For bakery-worthy, razor-sharp slices that show off every distinct layer, you need a hot blade. Run a sharp chef's knife under hot tap water, wipe it completely dry with a towel, and make your slice. Crucial step: Wipe the blade clean and re-warm it between every single cut. If you drag a cold, messy knife through the cake, the chocolate and whipped cream will smear down into the yellow vanilla pudding.
Servings, Storage & Make-Ahead Tips
Servings:
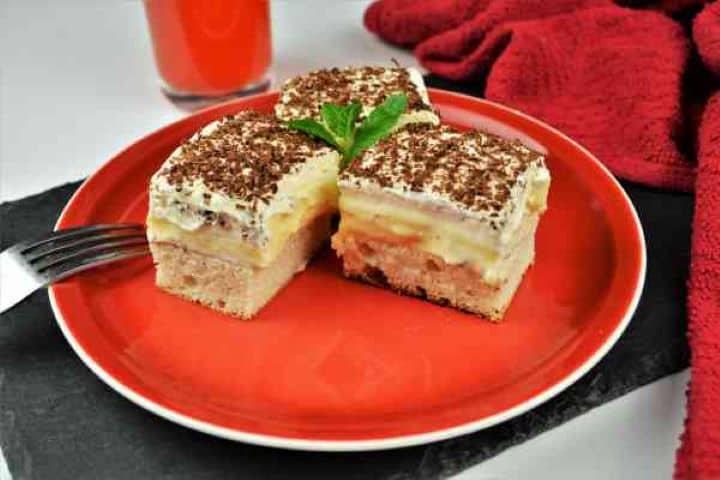
This recipe is assembled in a rectangular baking tray and yields exactly 12 generous slices. Because the homemade vanilla buttercream is incredibly rich and the whipped cream topping is quite thick, this portion size provides the perfect balance of sweetness after a hearty meal.
The Ultimate Make-Ahead Dessert:
This cake actually requires you to make it ahead of time. The vanilla buttercream needs several hours in the fridge to fully set and firm up before it can be sliced cleanly. For the best flavor and texture, I highly recommend making the entire cake the day before you plan to serve it. Resting overnight allows the sponge base to soften slightly under the moisture of the pudding cream, making every bite melt in your mouth.
Refrigeration:
Because of the heavy dairy and egg content, this cake must be kept cold. Store it directly in the fridge, either lightly tented with foil or cling film (be careful not to smash your whipped cream peaks!) or transfer leftover slices to an airtight container. It will stay fresh and delicious for 3 to 4 days.
Can I Freeze It?No, do not freeze this cake. Cornstarch-based cooked puddings and freshly whipped double cream do not freeze well. When thawed, the layers will separate, weep water, and ruin the delicate, sliceable texture you worked so hard to build.
Frequently Asked Questions
This is almost always a temperature issue. If your cooked vanilla pudding is even slightly warm when you mix it into the butter and sugar, it will melt the butter. The pudding must be completely cooled to room temperature before you combine the two components to achieve a thick, stable cream.
The key is constant, rapid whisking. As the pudding begins to thicken and boil on the stove, add the egg yolks one by one, whisking vigorously the entire time. This smooths the yolks into the hot mixture before they have a chance to cook into solid pieces.
Because this sponge doesn't use egg yolks, its volume relies entirely on the air trapped in the whipped egg whites. If you use an electric mixer or stir too aggressively when adding the flour and baking powder, you will knock all the air out of the meringue. Always use a silicone spatula to gently fold the dry ingredients in.
No. Single cream does not have a high enough fat content to hold air. You must use very cold double cream (heavy whipping cream) so it whips into stiff, stable peaks that won't collapse on top of your cake.
More Cake & Dessert Recipes You'll Love
I highly recommend baking this modern floating island cake for your next family gathering-it is an absolute showstopper and always a huge hit with the kids! If you enjoy this, you should also try these other favorite bakes from our kitchen:
- Easy Black Forest Cake Recipe: A stunning combination of rich chocolate sponge, sweet cherries, and whipped cream.
- Traditional Baked Cheesecake Recipe: A classic, dense, and creamy dessert that holds its shape beautifully for perfect slices.
- The Best Russian Cheesecake: A unique and comforting bake using sweet cheese for a rich, satisfying texture.
- Simple Bread Pudding Recipe: The ultimate nostalgic comfort food that transforms simple ingredients into a warm, cozy treat.
- Best Raspberry Cheesecake: A bright and fruity variation where the tart raspberries perfectly balance the rich cream cheese.
- The Best Sweet Cornbread Recipe in the World: A golden, buttery, melt-in-your-mouth cornbread that works perfectly as a sweet snack or side dish.
- Easy Apple Cake Recipe: A beautifully simple, rustic bake that saves you time-no peeling required, just leave those apple skins right on!
Enjoy Your Sliceable Madártej!
I hope this modern, layered take on the traditional Hungarian floating island brings as much joy to your table as it does to ours. It truly is the perfect make-ahead dessert for Sunday dinners, holidays, or any time you want the nostalgic flavor of vanilla and meringue without the stress of poaching.
If you bake this Floating Island Cake, please take a moment to leave a 5-star rating in the recipe card below and let me know how it turned out in the comments! Your feedback means the world to me and helps other readers find our family recipes.
I would love to see your beautiful, clean cake layers, so please snap a photo and tag me! To never miss a new recipe, make sure to follow us across all our social media:
- YouTube: Subscribe to @timeaskitchen for step-by-step traditional recipe videos.
- Facebook: Follow the Timea's Kitchen page for daily cooking inspiration.
- Instagram: Tag us in your recipe photos so we can share your creations!
- Pinterest: Pin this recipe to your favorite dessert boards to save it for later.
Happy baking!
More Delicious Desserts to Try
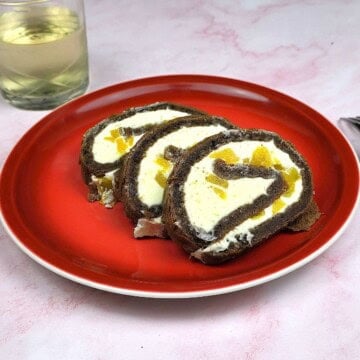
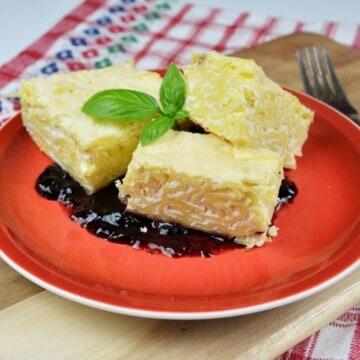
If you love the rich, nostalgic flavors of this sliceable Madártej, you will definitely want to save these other popular bakes from our kitchen. Click the images below to find your next favorite dessert!
Floating Island Cake (Sliceable Madártej)
Equipment
- 1 rectangular baking tray lined with parchment paper
- 1 electric hand mixer or stand mixer
- 2 mixing bowl
- 1 Silicone spatula
- 1 Saucepan and whisk
Ingredients
Sponge Cake Base:
- 8 pieces egg whites large size, room temperature
- 8 tablespoon sugar caster
- 8 tablespoon plain wheat flour all-purpose
- 1 teaspoon baking powder
- ¼ teaspoon sea salt fine, pinch
Rich Vanilla Cream:
- 2 sachets vanilla pudding powder, cook-and-serve style
- 700 ml milk cold
- 8 pieces egg yolks large size
- 200 g butter unsalted, softened at room temperature
- 12 tablespoon sugar granulated
- 1 teaspoon vanilla essence
Fluffy Topping & Garnish:
- 180 ml double cream heavy whipping cream, very cold
- 2 tablespoon chocolate flakes dark chocolate, for grating
Instructions
- Bake the Sponge Base: Preheat your oven to 180°C (350°F) and line a rectangular baking tray with parchment paper. In a large bowl, whip the 8 egg whites with a pinch of salt until soft peaks form. Gradually add the sugar, whipping until you reach stiff, glossy peaks. Gently fold in the flour and baking powder using a spatula. Spread evenly into the tray and bake for 20-25 minutes until set. Set aside to cool completely.
- Cook the Vanilla Pudding Base: In a saucepan, combine the 2 vanilla pudding sachets with the cold milk. Mix with an electric mixer until incorporated, then place on the stove over medium-low heat. Cook while mixing continuously with a whisk. When the pudding starts to boil and thicken, add the 8 egg yolks one by one, stirring constantly. Turn off the heat and let the pudding cool completely to room temperature.
- Prepare the Vanilla Buttercream: In a separate bowl, add the soft butter, sugar, and vanilla essence. Mix well with an electric mixer until you get a homogeneous paste. Once the cooked vanilla pudding has cooled completely, pour it over the buttercream. Mix them together with the electric mixer until you obtain a fine, smooth cream.
- Assemble and Chill: Spread the finished vanilla cream evenly over the cooled sponge cake right in the baking tray, leveling the top. Place the baking tray in the fridge for at least 2 hours to harden the vanilla cream.
- Whip the Topping: Once the vanilla cream layer has set in the fridge, pour your cold double cream and powdered sugar into a mixing bowl. Whip until stiff, stable peaks form. Spread the whipped cream evenly over the cold vanilla cream layer.
- Garnish and Serve: Grate dark chocolate generously over the top of the whipped cream. When ready to serve, run a sharp knife under hot water, wipe it dry, and slice the cake into neat squares, wiping and re-warming the blade between each cut.
Notes
- Temperature Warning: Your cooked pudding must be completely cool before mixing it with the butter, or the cream will separate and become runny.
- Storage: Keep refrigerated in an airtight container for 3 to 4 days. Do not freeze.
Nutrition
This post contains affiliate links. Read the full disclosure here.